Photo source - plantpath.ifas.ufl.edu
Photo source - plantpath.ifas.ufl.edu
Photo source - plantpath.ifas.ufl.edu

Photo source - plantpath.ifas.ufl.edu
Photo source - plantpath.ifas.ufl.edu
Photo source - plantpath.ifas.ufl.edu
Photo source - plantpath.ifas.ufl.edu
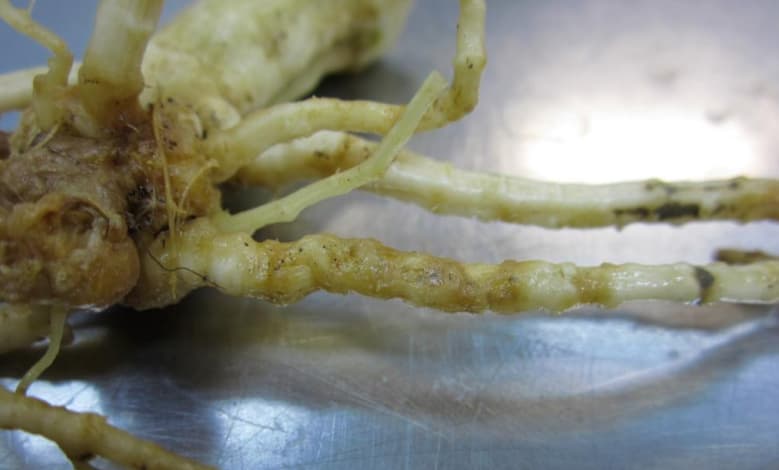
Photo source - inaturalist.org
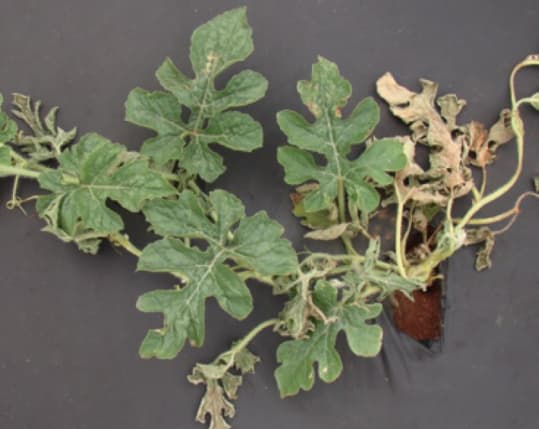
Photo source - plantpath.ifas.ufl.edu
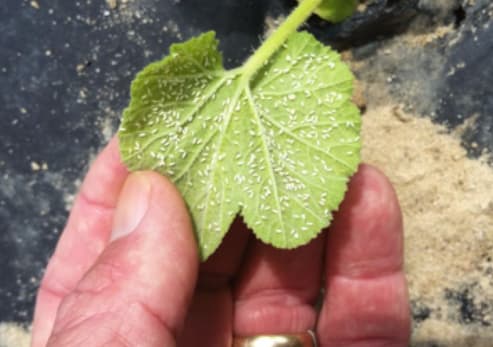
Photo source - plantpath.ifas.ufl.edu